Hardwired vs plug-in EV charger: which should you install?
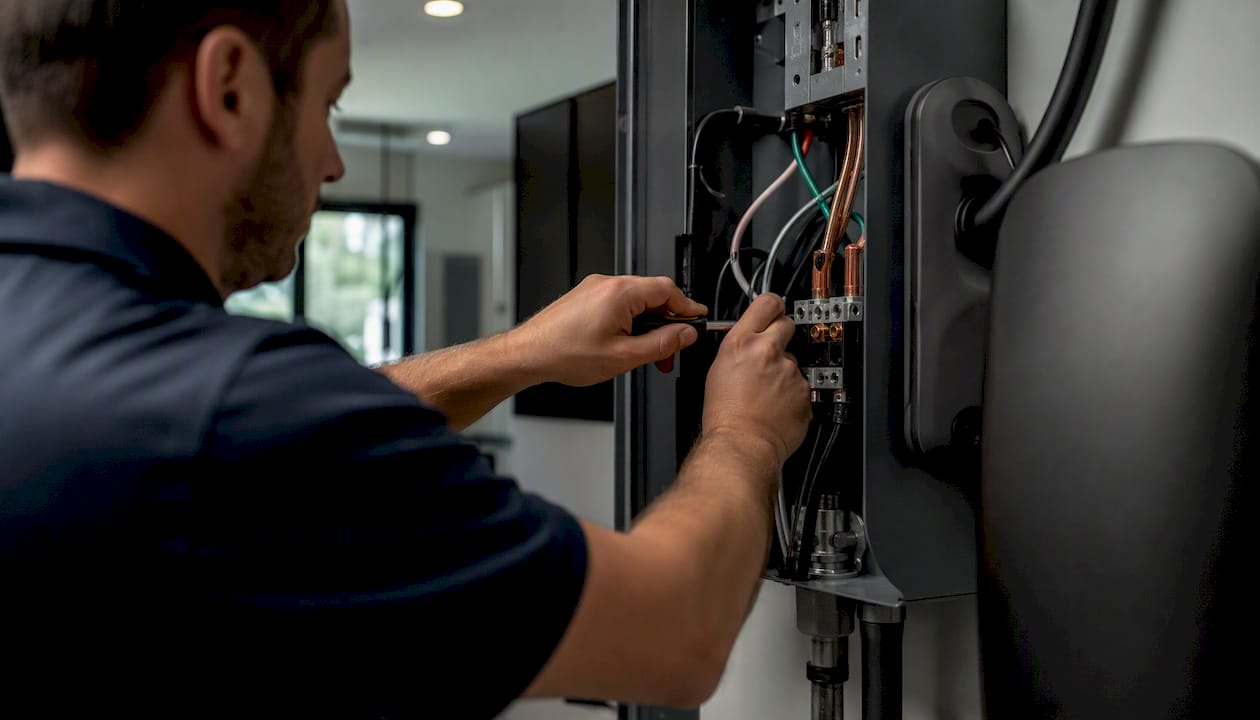
For most Canadian homeowners who charge nightly and plan to stay in their home for several years, a hardwired Level 2 charger is the better choice. It delivers more power, holds up better outdoors, and eliminates the wear that comes with plugging and unplugging a heavy-gauge connector every day. That said, a plug-in setup using a NEMA 14-50 outlet is a legitimate option when portability matters or when a compatible outlet already exists in your garage.
When to choose hardwired:
- You own your home and plan to stay 5+ years
- You drive long daily distances and need maximum charging speed
- Your charger will be mounted outdoors or in an exposed location
- You want a unit like the Tesla Wall Connector running at full capacity
When to choose plug-in:
- You rent or may move within a few years
- A NEMA 14-50 outlet already exists in the right location
- You want the flexibility to take the charger with you
- Your daily driving is modest and overnight charging at 40A is sufficient
Both options require a licensed ESA electrician and a dedicated circuit. In Ontario, the Electrical Safety Authority (ESA) governs all residential electrical work, and a permit is required regardless of which format you choose.
Table of Contents
- How hardwired and plug-in chargers compare at a glance
- How amperage and kW translate into real charging speed
- Safety, weatherproofing, and nuisance tripping: what you need to know
- What the installation process looks like and how long it takes
- Typical Canadian costs for plug-in vs hardwired installs
- How to choose: a practical decision checklist
- Canadian permit requirements and rebate programmes
- Key takeaways
- What installers wish Canadian homeowners knew before booking
- Evchargerinstallationtoronto: licensed installs with permits and rebates handled
- Useful sources
How hardwired and plug-in chargers compare at a glance
| Dimension | Plug-in (NEMA 14-50) | Hardwired |
|---|---|---|
| Max current | 40A continuous | Up to 48A continuous |
| Charging speed | ~9.6 kW | ~11.5 kW |
| Install complexity | Moderate | Moderate to high |
| Typical install time | 2–4 hours (outlet exists) / 4–6 hours (new circuit) | 4–6 hours |
| Typical upfront cost (Canada) | moderate range for plug-in | generally higher for hardwired |
| Portability | Yes, charger moves with you | No, fixed installation |
| Outdoor/weatherproof suitability | Fair (outlet cover + GFCI required) | Better (sealed, fewer failure points) |
| Nuisance tripping risk | Higher (stacked GFCI possible) | Lower |
| Best for | Renters, movers, modest daily driving | Long-term homeowners, high-mileage drivers |
Note on vehicle limits: Your car’s onboard charger sets the ceiling. A vehicle that accepts only 7.2 kW will not charge faster regardless of whether you install a 40A or 48A circuit.
Permit reminder: In Ontario, both plug-in and hardwired Level 2 installs require an ESA permit. Always confirm your electrician is ESA-licensed before work begins.
How amperage and kW translate into real charging speed
Hardwired chargers commonly deliver up to 48A (~11.5 kW), while plug-in chargers on a NEMA 14-50 are limited to 40A (~9.6 kW). That gap works out to roughly 20–25% faster charging with a hardwired unit when your vehicle can accept the higher current.
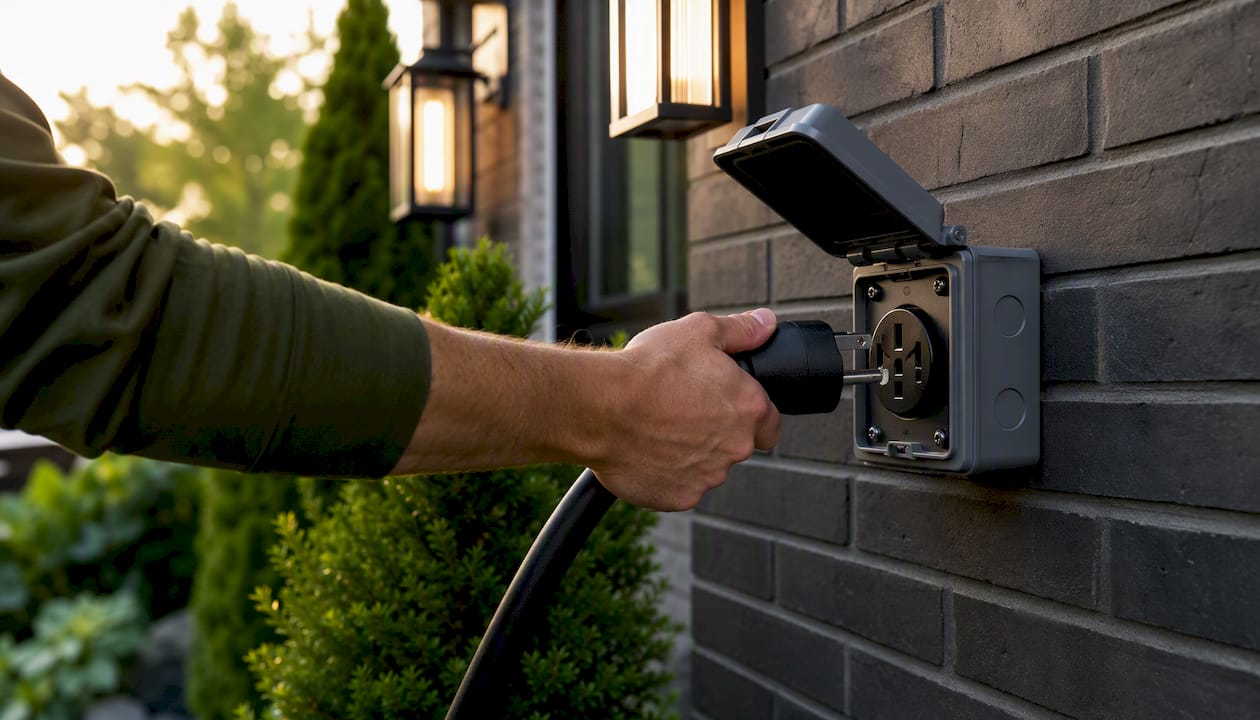
The formula is straightforward: multiply amps by 240V, then divide by 1,000 to get kilowatts. A 40A charger delivers 9.6 kW; a 48A charger delivers 11.5 kW. In practical terms, at 9.6 kW you add roughly 32–40 km per hour of charging, depending on your vehicle’s efficiency. At 11.5 kW, that climbs to roughly 38–48 km per hour.
| Vehicle type | Onboard charger limit | Speed at 40A / 9.6 kW | Speed at 48A / 11.5 kW |
|---|---|---|---|
| Examples include compact, mid-size, and large EVs | Various onboard charger limits | Approximate range added varies | Higher amperage can increase charging speed if vehicle allows |
For most owners who drive moderate distances and charge overnight, differences between charging amperages are minor. Higher amperage becomes more useful for longer daily drives, larger batteries, or quick top-ups.
Safety, weatherproofing, and nuisance tripping: what you need to know
Hardwired installations have fewer connection points. No plug, no receptacle, no repeated insertion cycles. Removing that plug-and-receptacle connection reduces exposed wear and makes outdoor installations more durable, particularly in Canadian winters where thermal cycling stresses connectors over time.
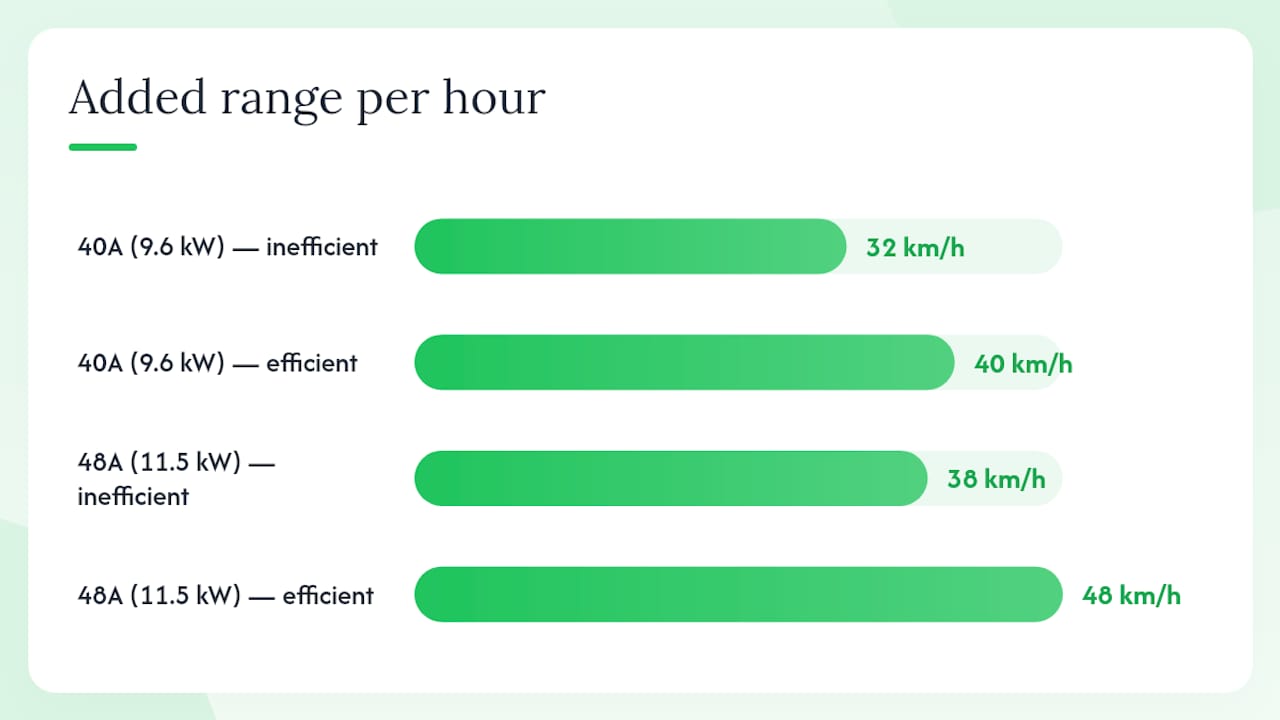
Plug-in setups introduce two potential failure points: the receptacle itself and the NEMA 14-50 plug on the charger cord. Outdoor receptacles require weatherproof covers and GFCI protection, and weatherproof NEMA 14-50 outlets with GFCI breakers can still be weak links that lead to nuisance tripping or maintenance issues. Nuisance tripping happens when two layers of GFCI protection interact, a common mistake when a GFCI breaker is installed on a circuit feeding a charger that also has internal GFCI.
Safety checklist to review with your electrician:
- Outdoor-rated enclosure (NEMA 3R or better for exterior walls)
- Correct receptacle spec (NEMA 14-50 rated for the amperage)
- Proper torque on all terminations
- Conduit and weatherproofing for wire runs exposed to the elements
- Single layer of GFCI protection, not stacked
Pro Tip: If your charger has a built-in GFCI, use a standard (non-GFCI) breaker. Installing a GFCI breaker on a circuit feeding a charger with internal GFCI is the most common cause of nuisance tripping in residential EV installations.
What the installation process looks like and how long it takes
A typical Level 2 charger installation follows the same basic steps whether you choose plug-in or hardwired. The difference is in the final connection: an outlet versus a direct wire termination.
Step-by-step outline:
- Site survey and load calculation (confirms panel capacity and circuit route)
- Permit application (required in Ontario; your electrician pulls this)
- Conduit and wire run from panel to charger location
- Outlet installation (plug-in) or junction box and direct termination (hardwired)
- Charger mounting and connection
- Circuit testing and verification
- ESA inspection and sign-off
A straightforward install in a detached home with an accessible panel typically takes 4–6 hours. Add a day or more if a panel upgrade is needed, conduit must be run through finished walls, or the charger is going in a detached garage requiring trenching. Permit and inspection timelines vary by municipality but commonly add 1–2 weeks to the overall project schedule.
Questions to ask your contractor before signing:
- What breaker size do you recommend, and why?
- Does this charger support both hardwired and plug-in modes?
- Who pulls the permit, and is the inspection included in your quote?
- Are you ESA-licensed, and can I see your licence number?
- What happens if a panel upgrade is needed after the site visit?
- What is your warranty on labour and materials?
Red flags to watch for:
- Quoting without a site visit or load calculation
- No mention of permits or inspection
- Reluctance to provide ESA licence details
- Vague scope of work with no itemised breakdown
Typical Canadian costs for plug-in vs hardwired installs
Cost depends heavily on what already exists in your home. When a compatible NEMA 14-50 outlet already exists in the right location, a plug-in Level 2 charger is often the fastest, lowest-labour way to start home charging. But if a new outlet is needed, the cost difference between plug-in and hardwired narrows considerably.
For a detailed local breakdown, the Toronto EV charger installation cost guide covers current GTA labour rates and permit fees.
Labour rates vary across Canada. Ontario’s ESA permit fees and municipal requirements add to the base cost, but they also protect you: a permitted and inspected installation is a condition of most home insurance policies and is required for rebate eligibility. Rebate programmes in Ontario can offset up to $5,000 of your costs, making it worth applying before you pay the full invoice.
Over the long term, hardwired installations tend to cost less to maintain. Fewer outlet replacements, no GFCI receptacle wear, and no plug degradation. Plug-in setups may require receptacle replacement every several years, particularly in outdoor locations where thermal cycling and moisture accelerate wear. Pairing your charger with home energy efficiency practices can further reduce your monthly operating costs.
How to choose: a practical decision checklist
Work through these questions before you call an electrician. Your answers will point clearly to one option.
About your situation:
- Do you own your home? If yes, hardwired is worth the investment.
- How long do you plan to stay? Under 2 years, plug-in makes more sense.
- How far do you drive daily? Over 120 km, hardwired speed matters.
- Do you already have a NEMA 14-50 outlet in the right location? If yes, get a plug-in quote first.
- Do you have a second EV or plan to add one? Factor in load management options.
- Is the charger going outdoors or in an exposed location? Hardwired is the safer long-term choice.
- What is your panel capacity? A load calculation will confirm whether you need an upgrade.
Compatibility note: Most Level 2 chargers use the J1772 connector standard, which is compatible with all non-Tesla EVs sold in Canada. Tesla vehicles use a proprietary connector (now NACS) but ship with a J1772 adapter. The Tesla Wall Connector uses NACS natively and can be hardwired for full 48A output.
Warranty and maintenance differences: Hardwired chargers typically carry the same manufacturer warranty (commonly 3 years) as plug-in models, but the installation itself has fewer wear components. Plug-in setups add the receptacle and plug to the maintenance picture. Outdoor plug-in installations should be inspected annually for corrosion and contact wear.
Insurance note: In Canada, unpermitted electrical work can void your home insurance coverage for related claims. Always confirm your installer pulls an ESA permit and that the work is inspected before closing out the job.
Canadian permit requirements and rebate programmes
Every Level 2 EV charger installation in Ontario requires an ESA permit. The Electrical Safety Authority inspects the completed work and issues a certificate of inspection. This is not optional, and it is not something a homeowner can self-certify. Your electrician applies for the permit, completes the work, and arranges the inspection. The process typically adds 1–2 weeks to the project timeline, though some municipalities move faster.
Other provinces have equivalent bodies: the Technical Safety BC in British Columbia, the Safety Codes Council in Alberta, and the Technical Standards and Safety Authority (TSSA) in Ontario for gas-related work. Electrical permits for EV chargers fall under the provincial electrical authority in each case.
What a full end-to-end installation service covers:
- Site survey and load calculation
- Permit application and fee payment
- Conduit, wire, and equipment installation
- ESA inspection coordination
- Rebate paperwork and application support
Where to find Canadian rebate programmes:
- Ontario: Check the provincial energy efficiency portal and your local utility (Toronto Hydro, Hydro One) for current incentives
- Federal: Natural Resources Canada’s iZEV programme covers vehicle purchases; some provinces stack additional charger rebates
- Municipal: Some GTA municipalities offer additional incentives; confirm eligibility before installation
Pro Tip: Apply for rebates before your installation date when possible. Some programmes require pre-approval or have application windows that close once funding is exhausted. An installer who handles rebate paperwork as part of the service can save you hours of back-and-forth.
Key takeaways
For most Canadian homeowners, a hardwired Level 2 charger delivers better long-term performance, outdoor durability, and higher charging speed than a plug-in NEMA 14-50 setup, though plug-in remains the right call when portability or an existing outlet tips the economics.
| Point | Details |
|---|---|
| Hardwired delivers more power | Up to 48A / 11.5 kW vs 40A / 9.6 kW for plug-in; roughly 20–25% faster when your vehicle accepts the higher current. |
| Plug-in suits renters and movers | A NEMA 14-50 setup is portable and lower-cost when a compatible outlet already exists. |
| Both require a permit in Ontario | ESA permit and inspection are mandatory; always use an ESA-licensed electrician. |
| Rebates can offset up to $5,000 | Apply early; some Ontario programmes require pre-approval before installation. |
| Evchargerinstallationtoronto handles it end-to-end | ESA-licensed installs across the GTA with permit handling, rebate paperwork, and same-week booking from $1,800. |
What installers wish Canadian homeowners knew before booking
The hardwired vs plug-in decision is rarely the hardest part of a home EV charger project. What actually slows jobs down or inflates costs are five things that come up repeatedly.
First, panel capacity. Many Toronto-area homes built before 2000 have 100A service, and adding a 40A or 48A EV circuit on top of existing loads requires a load calculation before anyone picks up a drill. Skipping this step is how homeowners end up with a surprise panel upgrade quote mid-project.
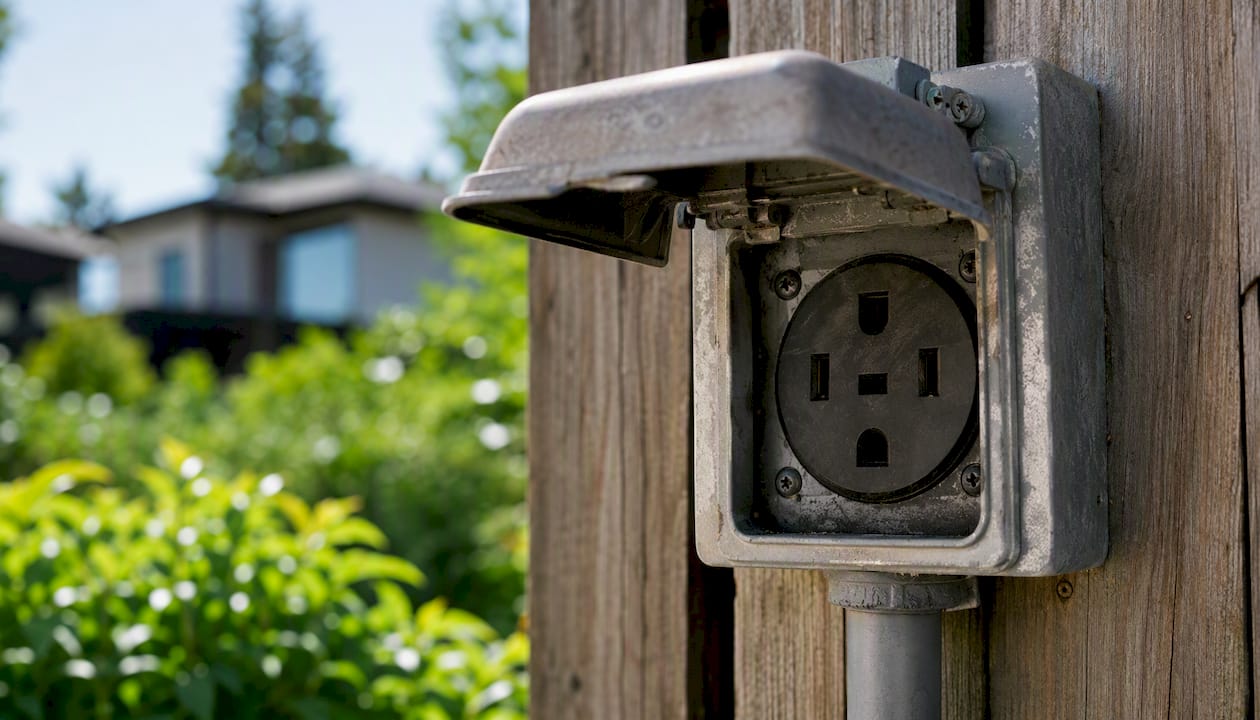
Second, outlet quality. Not all NEMA 14-50 outlets are equal. A cheap receptacle installed in an outdoor or high-cycle application will degrade faster than the charger itself. Specifying a commercial-grade outlet matters.
Third, permit timing. Homeowners often underestimate how long the ESA inspection window adds to the schedule. Two weeks is typical; plan for it rather than being surprised.
Fourth, stacked GFCI protection. This is the most common cause of nuisance tripping we see on plug-in installs. One layer of GFCI protection is correct; two layers fight each other.
Fifth, relocation costs. If you install a plug-in charger today and want to move it to a different wall or a detached garage in two years, that is a new circuit run and a new permit. Hardwired installs have the same constraint. Neither option is free to relocate, so choose your location carefully the first time.
Evchargerinstallationtoronto: licensed installs with permits and rebates handled
Sorting out the hardwired vs plug-in decision is one thing. Finding an ESA-licensed electrician who handles the permit, coordinates the inspection, and files your rebate paperwork without you chasing anyone is another. That is exactly what Evchargerinstallationtoronto delivers across the Greater Toronto Area, with transparent pricing from $1,800 and same-week booking.
What the service includes:
- Site survey and load calculation at no extra charge
- ESA permit application and inspection coordination
- Hardwired or plug-in Level 2 installation completed in a few hours
- Rebate application support for programmes worth up to $5,000
Use the free cost calculator to get a personalised estimate for your home, or book directly to lock in a same-week appointment.
Useful sources
- Hardwire vs. Plug-In EV Charger: Which is Right For You?
- Hardwired vs Plug-In EV Chargers Explained - EV Charging
- Hardwired vs Plug-In EV Charger for Home
- NEMA 14-50 vs Hardwired EV Charger — 2026 Installation Guide | EVIQO
- Hardwired Vs Plug-In EV Charger | Electrical ASAP
- Plug-In vs Hardwired EV Charger: Best Setup for 2026
- EV Charger and Energy Rebates Ontario 2026 | EV Install Pro Toronto | EV Install Pro Toronto
Recommended
- Licensed electrician for EV charger installation in Toronto | EV Install Pro Toronto
- Pedestal mount EV charger installation in Toronto | EV Install Pro Toronto
- EV Charger Guides & Blog | EV Install Pro Toronto | EV Install Pro Toronto
- Best home EV chargers in Canada: 2026 Toronto guide | EV Install Pro Toronto
Get Your Free Installation Quote
Free assessment · ESA permit included · Same-week availability across the GTA