120V vs 240V charging: what Canadian EV owners need to know
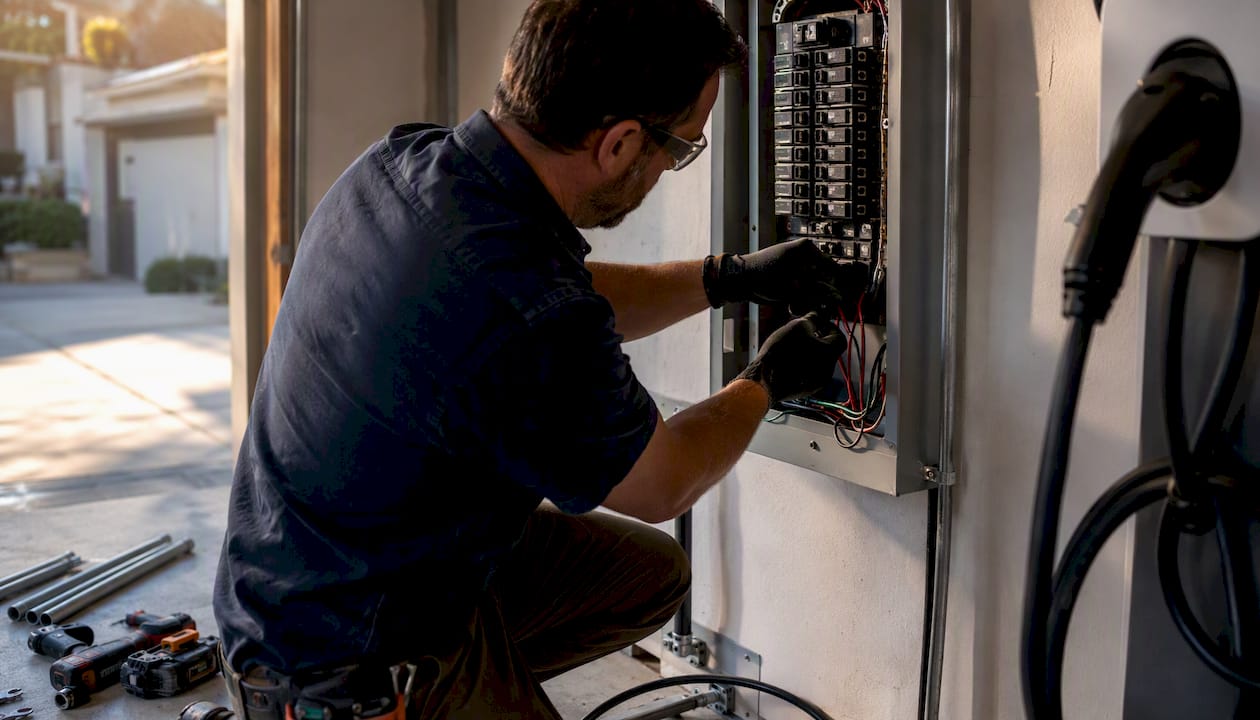
For most battery electric vehicle (BEV) owners in Canada, 240V Level 2 charging is the practical choice. Department of Transportation benchmarks](https://www.transportation.gov/rural/ev/toolkit/ev-basics/charging-speeds). Level 2 cuts that to 4–10 hours.
Quick summary:
- Level 1 (120V): Adds a modest amount of range per hour of charge, suitable for PHEVs or very low daily mileage. No installation needed beyond a standard outlet.
- Level 2 (240V): Adds significantly more range per hour of charge. The right choice for most BEV owners. Requires a dedicated circuit and an ESA-licensed electrician in Ontario.
- Transport Canada recognises Level 2 as the standard for residential EV charging across the country.
Key takeaways
For most Canadian BEV owners, Level 2 (240V) is the only practical home charging solution once daily driving exceeds 50–60 km or battery capacity exceeds 40 kWh.
| Point | Details |
|---|---|
| Level 1 is for low-mileage use | 120V adds roughly 7 km/hr, suitable for PHEVs or under 50 km daily. |
| Level 2 is the BEV standard | 240V adds 19–57 km/hr depending on circuit size, completing most BEV sessions overnight. |
| On-board charger caps speed | Your vehicle’s maximum AC charge rate limits what any Level 2 charger can deliver. |
| Permits and licensing are mandatory | Ontario requires an ESA-licensed electrician and ESA permit for every Level 2 install. |
| Evchargerinstallationtoronto handles it all | ESA-licensed installs across the GTA from $1,800, with permits, inspections, and rebates included. |
Table of Contents
- What Level 1 (120V) and Level 2 (240V) actually mean for your home
- Real-world charge times: kW to hours to kilometres
- Does voltage affect efficiency? Energy losses and real cost differences
- Safety, code, and installation basics in Canada for Level 2
- How to decide: a checklist for choosing 120V or 240V
- What a licensed GTA Level 2 install actually looks like
- An installer’s perspective on what actually matters
- Evchargerinstallationtoronto: Level 2 installs done right in the GTA
- Sources
What Level 1 (120V) and Level 2 (240V) actually mean for your home
The terms “Level 1” and “Level 2” describe the electrical charging standards used in North America, not the charger brand or connector shape.
Level 1 (120V) uses a standard NEMA 5-15 outlet, the same three-prong plug found in every Canadian home. Power output sits around 1–2 kW. You plug in the mobile connector that came with your vehicle and charge overnight, or over several nights for a large battery. The U.S. EPA confirms this is safe when using the vehicle-supplied EVSE, though a dedicated circuit is recommended for regular use.
Level 2 (240V) runs on a dedicated 240V circuit, the same voltage your electric dryer or range uses. Typical residential output ranges from 3.3 kW to 11.5 kW depending on the charger and circuit size. You’ll see it on a NEMA 6-20, NEMA 14-50, or hardwired outlet. The split-phase wiring in Canadian homes combines two 120V legs to produce 240V, which is why a double-pole breaker is always required.
A few specifics worth knowing:
- All Level 1 and Level 2 chargers in Canada use the J1772 connector (or the vehicle’s built-in adapter).
- Condos and some apartments may have 208V three-phase panels rather than residential 240V. This can reduce Level 2 charger output slightly. An installer verifies service type during the site visit.
- DC fast charging (Level 3) is a separate category entirely, used at public stations for rapid top-ups, not at home.
Real-world charge times: kW to hours to kilometres
The table below uses conservative real-world efficiency of approximately 20 kWh/100 km, which reflects typical Canadian driving conditions.
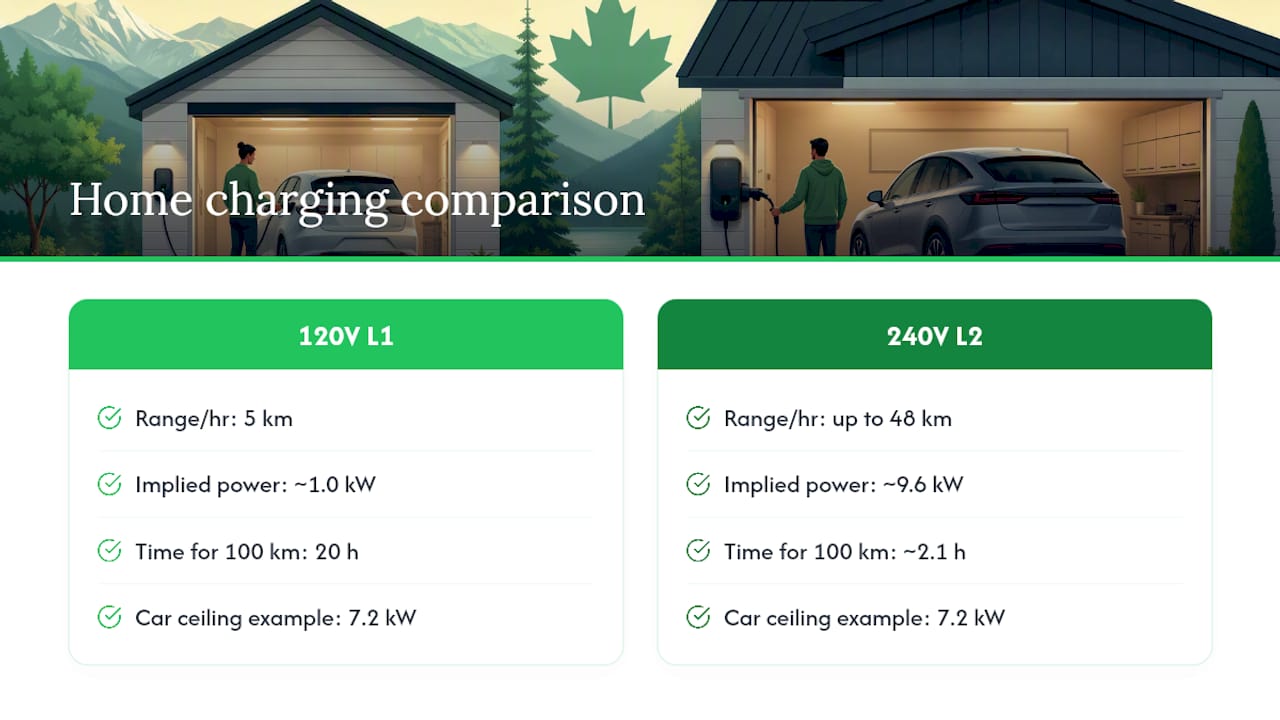
One point many owners miss: your vehicle’s on-board charger sets the ceiling. If your car accepts a maximum of 7.2 kW, connecting it to an 11.5 kW Level 2 charger won’t speed things up. The car, not the charger, is the bottleneck. Tesla’s mobile connector documentation illustrates this clearly, showing roughly 5 km/hr on a standard 120V outlet versus up to 48 km/hr on a higher-amperage 240V circuit, depending on the model.
Pro Tip: Before buying a Level 2 charger, check your vehicle’s maximum AC charge rate in the owner’s manual. A 7.2 kW car doesn’t benefit from a 48A circuit over a 32A one.
Does voltage affect efficiency? Energy losses and real cost differences
Yes, 240V charging is modestly more efficient. WattSizing’s analysis puts typical wall-to-battery efficiency at 80–90% for Level 1 and 88–95% for Level 2. The gap exists because every charging session carries fixed overhead: the vehicle’s battery management system, thermal controls, and onboard electronics all draw power whether you’re delivering 1.4 kW or 11.5 kW. Spread that fixed load over a 30-hour Level 1 session versus a 5-hour Level 2 session, and the overhead consumes a larger share of total energy drawn from the wall on Level 1.
In practical terms, the monthly cost difference between Level 1 and Level 2 charging is generally small for most households, due to modest efficiency differences, but Level 2 offers time-of-use rate advantages. The bigger financial argument for Level 2 is time-of-use flexibility.
- Level 2 charges fast enough to complete a full session during off-peak hours (typically 7 PM to 7 AM on Ontario Hydro One rates).
- Level 1 may run into on-peak or mid-peak windows if the battery is large and the session starts late.
- Concentrating charging into off-peak windows with Level 2 can reduce home energy costs meaningfully over a year.
Pro Tip: Set your vehicle’s scheduled charging to begin at 11 PM if you’re on a time-of-use plan. A Level 2 charger will finish a typical BEV session well before the morning peak begins.
Safety, code, and installation basics in Canada for Level 2
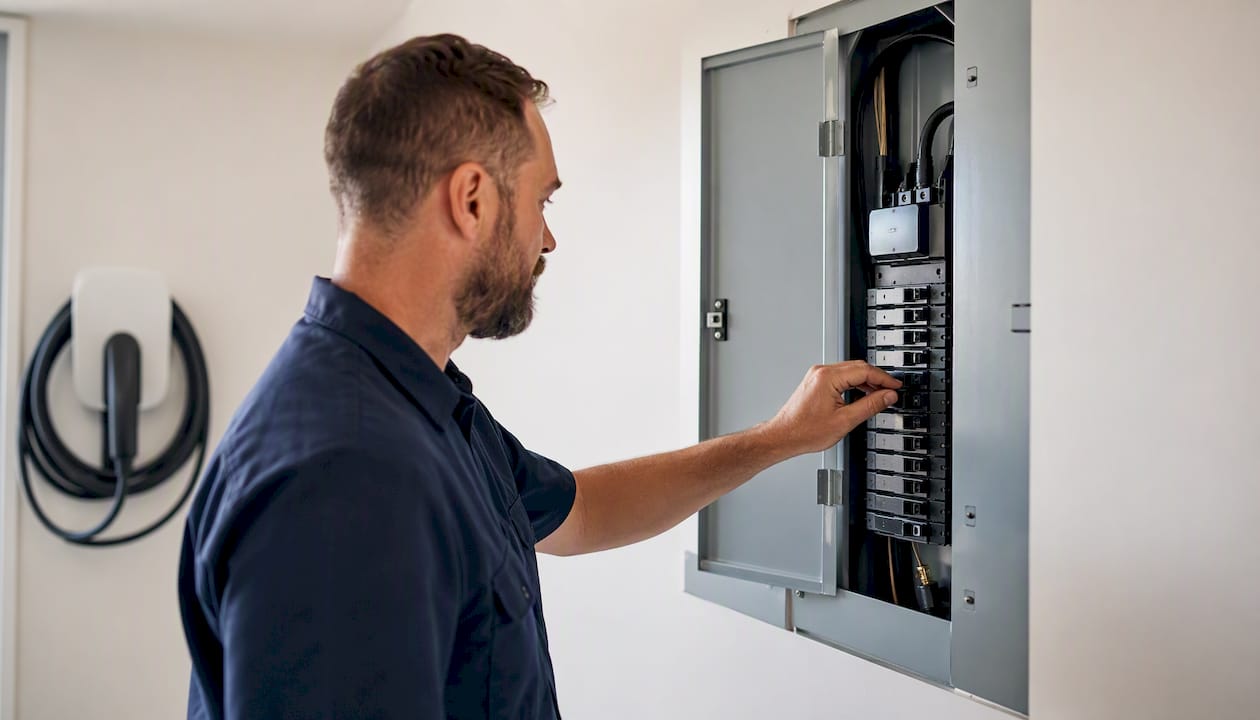
Installing a Level 2 charger is an electrical job that requires a permit and a licensed electrician in every Canadian province. In Ontario, that means an ESA-licensed electrician and an Electrical Safety Authority (ESA) permit. Skipping the permit is not just a code violation; it can void your home insurance and create liability if anything goes wrong.
Key requirements for a typical Ontario Level 2 install:
- Dedicated double-pole breaker: A 240V circuit must have its own breaker. Sharing a circuit with another appliance is not permitted.
- Breaker and wire sizing: A 32A charger (7.7 kW) needs a 40A breaker and 8 AWG wire. A 48A charger (11.5 kW) needs a 60A breaker and 6 AWG wire. The split-phase wiring guide explains why 240V circuits carry the same power at half the current of an equivalent 120V circuit, reducing heat and wire stress.
- Panel capacity: Your main panel needs enough free space for the new double-pole breaker. Many older Toronto homes with 100A service may need a panel upgrade before a Level 2 charger can be added.
- Final inspection: The ESA inspects the completed work before the permit is closed. This is not optional.
Pro Tip: A licensed installer will check four things before quoting: available panel capacity, meter location, the cable route from panel to parking spot, and whether your building has 208V or 240V service. Get that site assessment before committing to a charger model.
How to decide: a checklist for choosing 120V or 240V
Work through these steps in order.
- Estimate your daily kilometres. If you consistently drive under 50 km per day and own a PHEV, Level 1 may be sufficient. For most BEV owners driving 60 km or more daily, Level 1 will leave you short overnight.
- Check your vehicle’s on-board charger rate. Find the maximum AC charge rate in your owner’s manual. This caps what any Level 2 charger can deliver to your battery.
- Calculate overnight hours available. If you plug in at 11 PM and leave at 7 AM, you have 8 hours. A 50 kWh BEV needs roughly 29 hours on Level 1 to recover from near-empty. Level 2 at 32A covers it in about 5 hours.
- Check your panel capacity. Open your breaker panel and count unused slots. If you have a 100A panel with few free slots, get a quote that includes a panel upgrade assessment. Smart load management (EVEMS) can sometimes avoid a full upgrade.
- Research available rebates. Ontario and federal programmes can offset installation costs significantly. Check current Ontario EV charger rebates before finalising your budget.
- Get a site visit quote. Costs vary based on conduit run length, panel work, and charger model. A licensed installer can give you a firm number after seeing the space.
Threshold rule: If your BEV battery is 50 kWh or larger and you drive more than 60 km daily, budget for Level 2. Level 1 is a short-term workaround, not a long-term solution for that use case.
What a licensed GTA Level 2 install actually looks like
A typical Greater Toronto Area Level 2 installation follows a clear sequence, and knowing the steps helps you evaluate any quote you receive.
Installation steps:
- Site assessment: the electrician checks panel capacity, service type (240V vs 208V), meter location, and the best cable route to your parking spot.
- Permit application: filed with the ESA before any work begins.
- Cable run and conduit: wire is run from the panel to the charger location, either through conduit on the wall or through the ceiling/wall cavity.
- Breaker and panel work: a new double-pole breaker is installed; a panel upgrade is added if required.
- Charger mounting and connection: the EVSE unit is mounted and wired.
- ESA inspection and commissioning: the inspector signs off and the charger is tested.
Typical cost breakdown for a GTA Level 2 install:
Rebates can reduce net cost substantially. The federal iZEV programme and Ontario-specific incentives can cover a portion of installation costs. Long conduit runs (over 15 metres) and panel upgrades are the two most common reasons a quote comes in above the base range. Smart load management systems are worth asking about if your panel is near capacity; they can sometimes eliminate the need for a full upgrade.
An installer’s perspective on what actually matters
The single most common mistake I see is homeowners trying to run a Level 2 charger off an existing circuit that was never sized for it. A 30A dryer circuit looks tempting, but sharing it with a charger is a code violation and a fire risk. Every Level 2 install needs its own dedicated breaker, full stop.
The second mistake is skipping the permit to save time. In Ontario, an uninspected electrical installation can void your home insurance policy. The permit process through the ESA exists to protect you, and a qualified installer handles it as part of the job.
What I actually recommend to every homeowner: get the site assessment first, confirm your panel has capacity, and check rebates before you buy the charger unit. The rebate landscape changes, and buying the wrong charger before confirming eligibility costs money. If your panel is tight, ask about EVEMS load management before assuming you need a full 200A upgrade.
Evchargerinstallationtoronto: Level 2 installs done right in the GTA
Choosing Level 2 is the straightforward part. Finding an ESA-licensed team that handles the permit, the inspection, and the rebate paperwork without extra fees is where most homeowners get stuck.
Evchargerinstallationtoronto installs Level 2 home chargers across the Greater Toronto Area, with transparent pricing starting from $1,800 and same-week booking. Every installation is handled by ESA-licensed electricians, permits and inspections are included at no extra charge, and the team manages rebate applications worth up to $5,000. Most installs are completed within a few hours. Use the free cost calculator to get an instant estimate for your home, or book a site assessment to confirm panel capacity and get a firm quote before you commit.
Sources
- Charger Types and Speeds | US Department of Transportation
- EV Charging 120V vs 240V Efficiency (Losses, Time, Cost) | WattSizing
- 120V vs 240V: What’s the Difference? (Complete Guide) — Watts to Volts
- Mobile Connector | Tesla Support
- Plug-in Electric Vehicle Charging: The Basics | US EPA
Recommended
- Best home EV chargers in Canada: 2026 Toronto guide | EV Install Pro Toronto
- EV Charger Guides & Blog | EV Install Pro Toronto | EV Install Pro Toronto
- NACS vs CCS: the 2026 Canadian EV charging guide | EV Install Pro Toronto
- Outdoor EV charger enclosure: Toronto homeowner’s guide | EV Install Pro Toronto
Get Your Free Installation Quote
Free assessment · ESA permit included · Same-week availability across the GTA