EV charger mounting height: code rules and installer tips
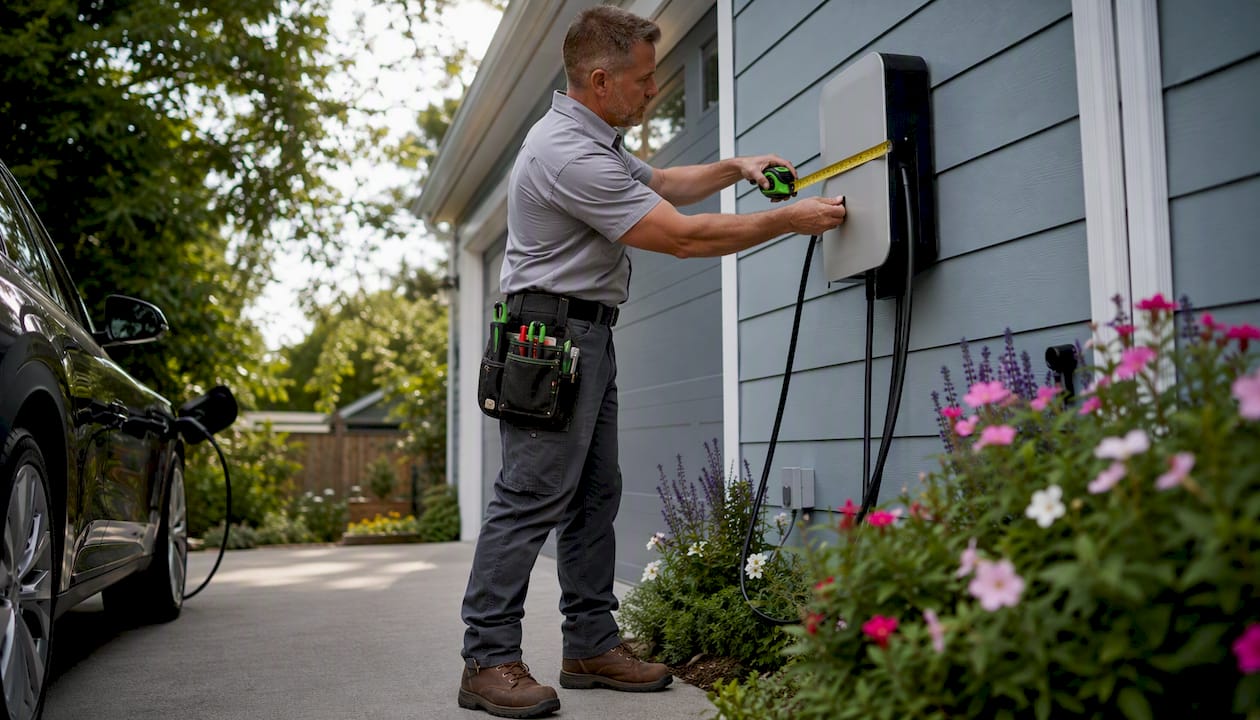
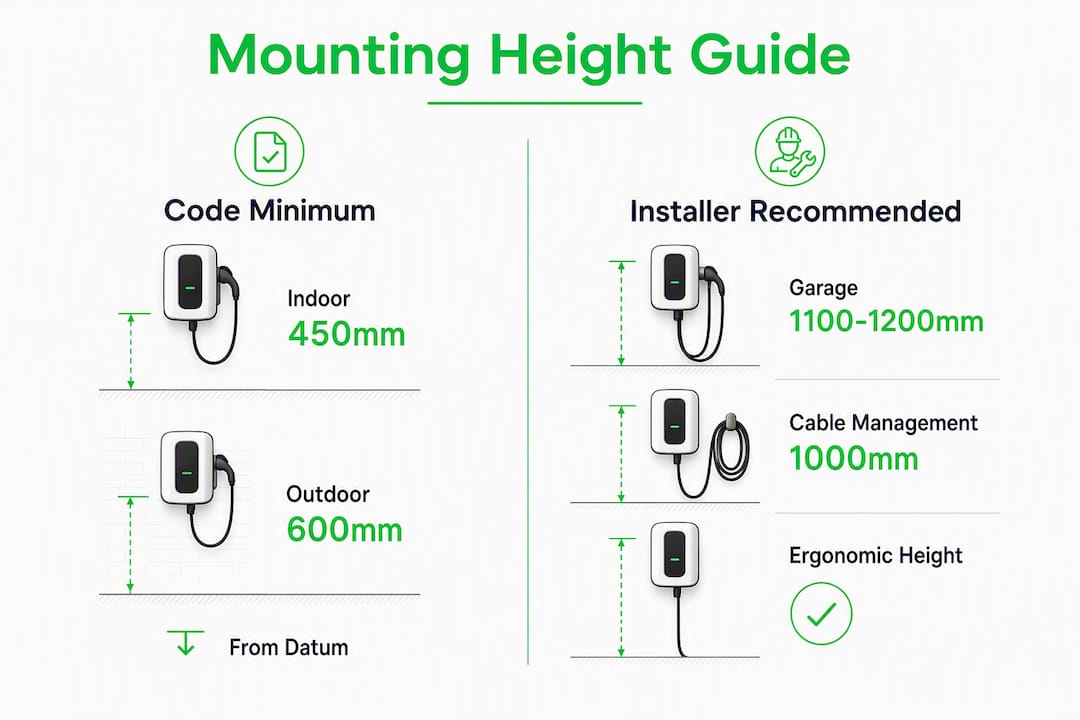
For most residential Level 2 EV chargers in Canada, the minimum mounting heights are approximately 450 mm indoors and 600 mm outdoors, measured from finished floor level or exterior grade respectively. The practical installer-recommended range is commonly cited between 600 mm and 1,200 mm, and installers frequently aim for 1,150 mm (45 in) as a working target, which keeps the cable off the ground, reduces connector strain, and stays within reach for most adults.
- Indoor minimum: 450 mm (18 in) above finished floor level
- Outdoor minimum: 600 mm (24 in) above exterior grade
- Practical working range: 600–1,200 mm (24–48 in); installer-recommended target is typically 1,150 mm (45 in)
Always confirm the final height with your local authority having jurisdiction (AHJ) and follow your charger manufacturer’s mounting template before any drilling begins.
Table of Contents
- What Canadian codes and provincial rules say about EV charger mounting height
- Recommended mounting heights by location and installer practice
- How to measure and mark the correct mounting points
- Why the 80% continuous-load rule affects your circuit, not your mounting height
- How flooding, snow, vehicle impact and accessibility affect your height choice
- Permits, inspections, and how your install affects rebate eligibility
- How EV Install Pro approaches a typical Toronto installation
- Key takeaways
- The height decision is more nuanced than the code suggests
- Get a compliant Level 2 install done right, the first time
- Useful sources to check before your installation
What Canadian codes and provincial rules say about EV charger mounting height
The Canadian Electrical Code (CEC) and CSA standards set the national baseline for EV charger installation, but provinces and municipalities layer on their own inspection requirements. In Ontario, the Electrical Safety Authority (ESA) oversees residential electrical permits and inspections. Other provinces have equivalent bodies: the Technical Safety BC in British Columbia, the Safety Codes Council in Alberta, and so on.
Finished floor level (FFL) vs. exterior grade is a distinction that trips up many homeowners. Indoors, you measure from the top surface of the finished floor (tile, concrete slab, or wood) straight up to the bottom of the charger’s coupling means. Outdoors, you measure from the ground grade immediately below the unit. If your driveway slopes or you expect seasonal frost heave, your electrician needs to account for that when marking the mounting point.
Before your installer arrives, check these:
- Contact your municipal electrical inspector or AHJ to confirm any local amendments to the CEC
- In Ontario, verify ESA permit requirements at the ESA permit page
- Pull the manufacturer’s installation manual and locate the mounting template (usually a paper cutout included in the box)
- Note the charger’s environmental rating (NEMA 3R, NEMA 4, or IP54+) if mounting outdoors, since this affects enclosure requirements
Pro Tip: Save a photo of the manufacturer’s mounting template and send it to your electrician before the job. It takes 30 seconds and can prevent a second site visit.
Recommended mounting heights by location and installer practice
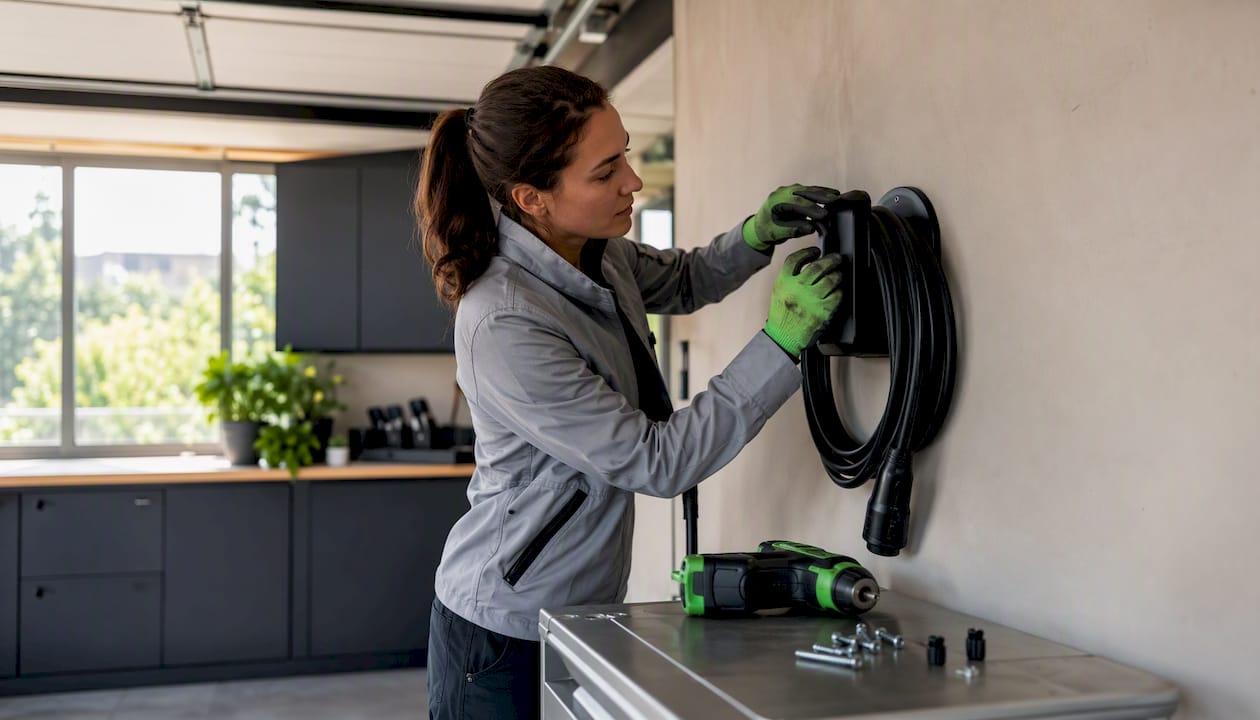
Height is not one-size-fits-all. Where you park, how your vehicle’s charge port is positioned, and whether you’re mounting on a garage wall versus a driveway pedestal all shift the ideal number within the code-compliant window.
| Location | Code minimum | Installer-recommended height | Rationale |
|---|---|---|---|
| Attached garage (interior wall) | minimum 450 mm (18 in) | installer target near 1,150 mm (45 in) | Keeps cable clear of floor, easy reach for most adults |
| Exterior wall (attached garage) | minimum 600 mm (24 in) | installer target near 1,150 mm (45 in) | Protects from road splash and snow accumulation |
| Detached garage / outbuilding | minimum near 450 mm interior | typical installer range near 1,100 to 1,200 mm | Same as attached; confirm power supply and weatherproofing | | Pedestal mount (driveway) | minimum near 600 mm from grade | typical installer range near 900 to 1,100 mm | Lower centre of gravity on pedestal; cable drapes naturally | | Condo surface / assigned stall | Per strata/building rules | typical installer range near 900 to 1,150 mm | Stall width and neighbour clearance often constrain height |
Your vehicle’s charge port location matters more than most homeowners expect. A rear-mounted port (common on many SUVs) pulls the cable toward the back of the stall, so mounting slightly lower and toward the rear wall reduces cable tension. A side-mounted port on a compact sedan may allow a higher mount. Check your vehicle’s port position before your electrician finalises the spot.
For cable management, cord cradles and retractors work best when the charger sits at or above 1,000 mm (39 in). Below that, the cable tends to pool on the floor rather than hang cleanly. If you’re using a pedestal mount, the pedestal itself adds height, so factor that into your measurement.
Pro Tip: Position the charger so the cable hangs in a gentle arc to your vehicle’s port. A 45 in mounting height minimises cable drag and connector wear for most passenger vehicles.
How to measure and mark the correct mounting points
Getting the measurement right before drilling saves time, money, and failed inspections. Here is the sequence your electrician will follow, and what you can do ahead of the visit to speed things up.
- Establish your datum. Indoors, identify the finished floor level (the top surface of your concrete slab or flooring). Outdoors, stand at the base of the proposed mounting wall and note the grade level directly below.
- Account for variables. If your garage floor slopes toward a drain, measure at the lowest point near the charger. For outdoor installs, add 50–75 mm (2–3 in) to account for snow accumulation or potential frost heave in Canadian winters.
- Use the manufacturer’s template. Tape the paper template to the wall at your target height. Most templates show the mounting hole pattern and the coupling means position. Mark the hole centres with a pencil.
- Confirm stud or backer locations. Use a stud finder to locate framing behind drywall. If studs don’t align with the template holes, install a backer board (minimum 19 mm / ¾ in plywood) spanning two studs before mounting.
- Record both metric and imperial. Write both measurements on the job sheet. Inspectors and permit applications in Canada may use either unit, and having both avoids confusion.
- Photograph everything. Take a photo of the marked wall with a tape measure visible, showing the distance from the floor to the mounting holes. This photo goes into your permit file and speeds up the inspection.
- Test Wi-Fi signal at the spot. If your charger has smart features, test the Wi-Fi signal at the exact mounting location before finalising. Concrete and masonry walls can block signals and disable networked load management or firmware updates.
Why the 80% continuous-load rule affects your circuit, not your mounting height
The 80% continuous-load rule is a separate electrical requirement that governs circuit sizing, not where on the wall the charger sits. EV chargers draw current continuously for hours, which classifies them as a continuous load under the CEC. The rule requires that the breaker be rated at least 125% of the charger’s operating amperage.
Here is a quick example:
- Your Level 2 charger operates continuously at a certain amperage.
- The circuit breaker rating must be at least 125% of that load.
- Your electrician installs an appropriately sized dedicated breaker and wiring.
Mounting height does not change this calculation. What it does affect is conduit and wiring routing. A charger mounted high on a wall near the panel needs less conduit than one mounted low on the opposite side of the garage. Runs over 15 m (50 ft) add wire cost and can introduce voltage drop, so your electrician will factor mounting location into the overall wiring plan.
Pro Tip: Before requesting a quote, collect: your charger’s model number and rated amperage, the cable length from the unit to your vehicle port, and the distance (in metres) from your proposed mounting wall to the electrical panel. This lets your electrician size the circuit and estimate conduit runs in one visit.
How flooding, snow, vehicle impact and accessibility affect your height choice
Code minima exist for a reason. The 600 mm outdoor minimum keeps the charger above typical standing water and road splash. But in Canada, that baseline often isn’t enough on its own.
Hazards to plan around:
- Standing water and flooding: In low-lying driveways or garages with poor drainage, mount at least 150 mm (6 in) above the highest recorded water level you’ve seen, not just the code minimum.
- Snow banks: A snowblower or plowing service can push a 600 mm drift against an exterior wall in minutes. Mounting at 900 mm (35 in) or higher on exterior walls gives meaningful clearance.
- Vehicle door swing and bumper impact: Keep the charger outside the arc of your car door and at least 300 mm (12 in) clear of where your bumper stops. A charger at 1,100 mm on the side wall of a single-car garage is typically safe from both.
- Accessibility: The U.S. Access Board’s EV charging guidance suggests reach ranges of 380–1,220 mm (15–48 in) for accessible installations. While Canadian AHJ requirements govern formal accessibility compliance, mounting within the 600–1,200 mm window keeps the charger usable for most household members, including those with limited reach.
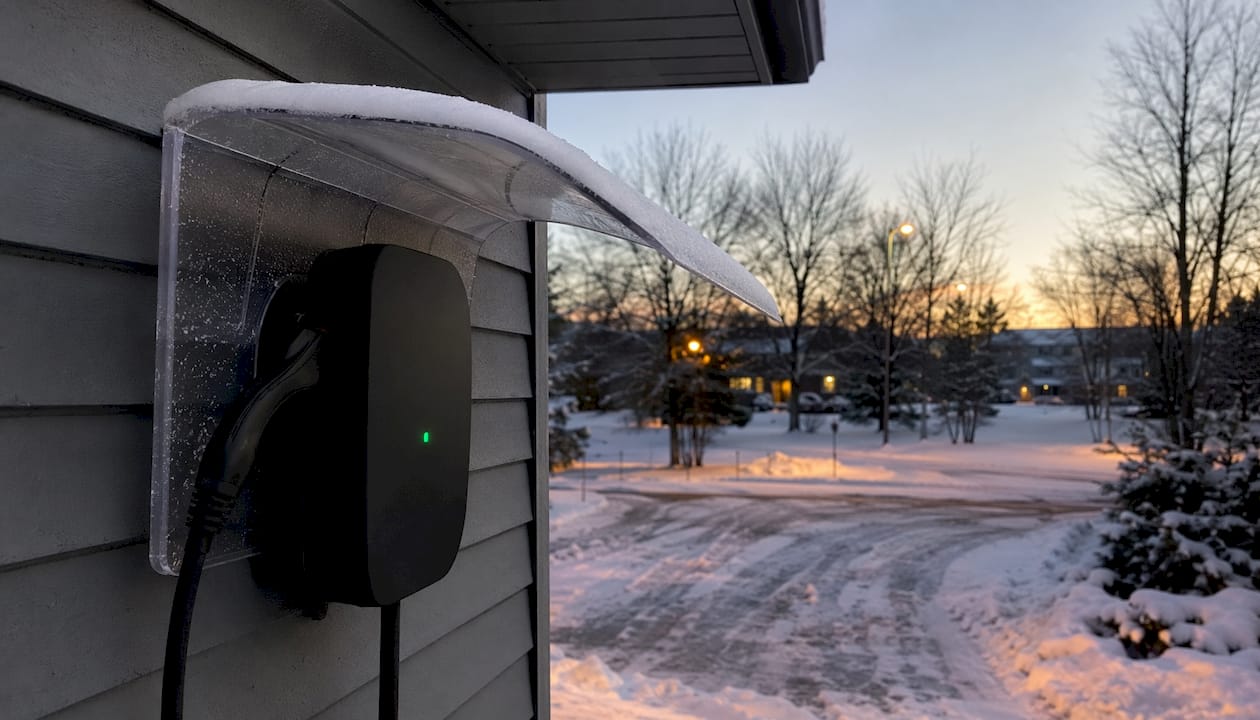
Pro Tip: For outdoor installs in Ontario winters, choose a sheltered wall (under a soffit or eave) and mount a cord cradle at the same height as the charger. This keeps the cable off the snow and prevents freeze-thaw damage to the connector.
Permits, inspections, and how your install affects rebate eligibility
In Ontario, an ESA electrical permit is required for any new EV charger circuit. Other provinces have equivalent requirements through their own safety authorities. Skipping the permit doesn’t just risk a fine; it can void your home insurance coverage for any electrical incident and disqualify you from rebates.
Typical permit and inspection checklist:
- Electrical permit pulled by a licensed electrician (in Ontario, ESA-licensed)
- Inspection booked after rough-in wiring is complete but before walls are closed
- Inspector verifies: mounting height, enclosure rating (NEMA/IP), circuit sizing, breaker labelling, and conduit routing
- Proof of licensed electrician provided to rebate program administrator
Many provincial and federal rebate programmes, including those worth up to $5,000 for new EV purchases, require a licensed install with a passed inspection as a condition of payment. The Ontario rebate programmes page outlines current eligibility requirements. Outdoor chargers must also carry the correct environmental rating (NEMA 3R minimum for most Canadian outdoor applications) to pass inspection.
How EV Install Pro approaches a typical Toronto installation
A standard job for Evchargerinstallationtoronto in an attached single-car garage in the GTA looks something like this:
-
Scenario: 200 A service panel in the utility room, proposed charger wall 4.5 m (15 ft) away, concrete block wall, Level 2 hardwired unit.
-
Mounting height selected: 1,150 mm (45 in) from finished floor. Rationale: matches the installer-recommended target height, clears the garage floor drain, puts the coupling means at a comfortable reach height, and allows the cable to drape cleanly to a rear-mounted charge port on an SUV.
-
Cable management: A cord cradle is mounted at the same height, 300 mm (12 in) to the right of the charger, so the cable hangs in a loop rather than coiling on the floor.
-
Time on site: Most standard hardwired Level 2 installs are completed within a few hours.
-
Pricing: Installations start from $800, with the final price depending on panel proximity, conduit requirements, and whether a panel upgrade is needed.
-
Documentation supplied: Permit application, ESA inspection certificate, and a photo record of mounting height and wiring for rebate submissions.
Pro Tip: Before your installer arrives, photograph the proposed mounting wall, measure the distance to your panel, and download your charger’s installation manual. Having these ready can cut 20–30 minutes off the site visit and speed permit approval.
Key takeaways
The single most important rule: mount your Level 2 charger at a minimum of 450 mm (18 in) indoors or 600 mm (24 in) outdoors, and aim for the 600–1,200 mm practical range to protect the cable and keep the unit accessible.
| Point | Details |
|---|---|
| Code minima (indoor/outdoor) | 450 mm (18 in) indoors; 600 mm (24 in) outdoors, measured from finished floor or grade. |
| Practical working range | 600–1,200 mm (24–48 in); installer-recommended target is typically 1,150 mm (45 in) for cable management and reach. |
| Measure from the right datum | Indoors use finished floor level; outdoors use exterior grade, adding clearance for snow accumulation. | | Permits and rebates require a licensed install | ESA permit and inspection are mandatory in Ontario; a passed inspection is typically required for rebate eligibility. | | Evchargerinstallationtoronto | ESA-licensed installers in the GTA handle permits, rebate paperwork, and compliant mounting from $800. |
The height decision is more nuanced than the code suggests
The code minimum is a floor, not a recommendation. What I see on most jobs is that homeowners who pick a height based purely on the minimum end up with a cable that drags across the garage floor every time they plug in. Over a Canadian winter, that cable sits in slush, freezes, and the connector housing cracks within two or three seasons.
The 1,150 mm target isn’t arbitrary. It puts the coupling means at roughly mid-torso height for most adults, which means a natural, low-effort plug-in motion. It also gives the cable enough arc to reach a rear or side charge port without pulling tight. When I’m working in a condo stall with a low ceiling or a narrow bay, I’ll drop to 900 mm, but I won’t go lower than 750 mm unless the vehicle’s port position absolutely demands it.
The trade-off people underestimate is the panel-proximity constraint. A charger mounted at the ideal ergonomic height on the wrong wall can mean an extra 10–15 m of conduit, which adds cost and introduces voltage drop on a 48 A circuit. The best height is the one that balances ergonomics, cable life, and the shortest practical wiring run to the panel. Those three factors rarely point to the same spot, and working through that triangle is what a licensed electrician does on every job.
Get a compliant Level 2 install done right, the first time
Knowing the correct EV charger mounting height is one thing. Getting it installed at exactly the right spot, with the permit pulled, the circuit sized correctly, and the rebate paperwork handled, is another. Evchargerinstallationtoronto’s ESA-licensed electricians do this every week across the Greater Toronto Area, and the process is straightforward: one site visit, a few hours of work, and you leave with an inspection certificate and rebate documentation in hand.

Pricing starts from $800 for a standard hardwired Level 2 install, with same-week booking available. The team handles the ESA permit and inspection at no extra charge, and can support rebate applications worth up to $5,000. Use the free cost calculator to get an instant estimate based on your home’s panel location and charger choice, or book a site assessment directly. If you’re not sure whether your panel needs an upgrade first, the EVEMS smart load management option may let you skip that cost entirely.
Useful sources to check before your installation
These are the documents and pages worth reviewing before you meet with your electrician or submit a permit application.
- Canadian Electrical Code (CSA C22.1): The national standard governing EV charger installation requirements, including mounting height minima and circuit sizing rules. Available through CSA Group; your electrician should have the current edition.
- Your provincial AHJ: In Ontario, the ESA permit requirements page explains what triggers a permit and what inspectors check. Other provinces: Technical Safety BC, Safety Codes Council (Alberta), TSSA (Ontario gas/pressure, not electrical).
- Manufacturer installation manual: Every Level 2 charger ships with a manual that includes the mounting template, minimum/maximum height specifications, and environmental rating. Check the home EV charger guide for model-specific notes on cord length and port compatibility.
- U.S. Access Board EV charging guidance: Useful reference for accessible reach ranges (380–1,220 mm), even though Canadian AHJ rules govern formal compliance here.
- Outdoor enclosure requirements: Before mounting outside, confirm your unit’s NEMA or IP rating. The outdoor enclosure guide covers what Toronto-area inspectors typically look for.
- Rebate eligibility: Provincial and federal programmes change regularly. The Ontario rebates page lists current programmes and what documentation a licensed install must produce to qualify.
Recommended
- Pedestal mount EV charger installation in Toronto | EV Install Pro Toronto
- EV Charger Installation Cost in Toronto 2025: Complete Pricing Guide | EV Install Pro Toronto
- EV Charger Installation in a Toronto Condo or Apartment: The Complete 2025 Guide | EV Install Pro Toronto
- EV Charger Guides & Blog | EV Install Pro Toronto | EV Install Pro Toronto
Get Your Free Installation Quote
Free assessment · ESA permit included · Same-week availability across the GTA