Avoid Inspection Failures: 125% Rule for Home EV Charger Breaker Size
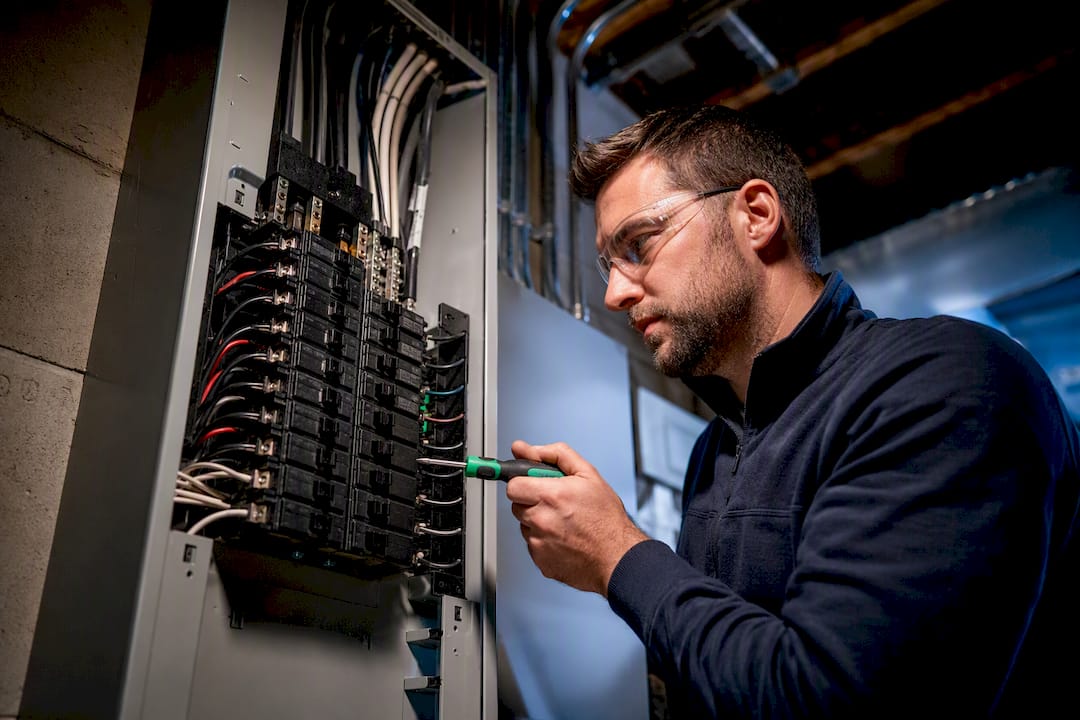
Size the breaker at 125% of the charger’s continuous amperage. A 48 A charger needs a 60 A breaker, a 32 A charger needs a 40 A breaker, and so on up the ladder. That’s the whole rule. The final setup also depends on your wire gauge and whether the charger is hardwired or plugged in, so confirm the exact numbers with a licensed electrician and your local permit office before anyone touches the panel.
TL;DR:
- A 48 A charger requires a 60 A breaker, and a 32 A charger needs a 40 A breaker, based on the 125% rule for continuous load sizing.
- Most home chargers up to 40 A can be plugged into dedicated receptacles, but higher amperages must be hardwired and often require permits and a disconnect within sight of the charger.
- Proper conductor sizing is essential, with #6 AWG copper wire suitable for 48 A circuits, and voltage drop considerations may lead to heavier wire over longer runs.
- Panel capacity should be checked against total household loads to avoid overload, with smart load management systems offering a cost-effective alternative to panel upgrades.
- Electricians typically verify proper breaker sizing, grounding, and permit requirements, and may handle rebate paperwork, ensuring safe, code-compliant, and efficient EV charger installation.
Table of Contents
- Quick reference chart for breaker size for an EV charger
- How to calculate breaker size yourself (the 125% rule and the 80% check)
- Conductor sizing and voltage drop: picking the right wire
- Protections, receptacles, and inspection points
- Panel capacity, load checks, and smart load management alternatives
- Practical examples: what a 32 A, 40 A, 48 A and 80 A setup actually looks like
- When to call a licensed electrician, permit checklist, and rebate note
- An installer’s take on breaker sizing
- How EV Install Pro Toronto takes the guesswork out of breaker sizing
- Sources
Quick reference chart for breaker size for an EV charger
Most home charger installations fall into one of six amperage settings. Here’s how each maps to breaker and wire, based on the standard continuous-load math electricians and permit inspectors use.
| Charger amps | Breaker size | Typical wire (copper) | Common setup |
|---|---|---|---|
| — | 20 A | #12 AWG | Plug-in, standard receptacle |
| — | 30 A | #10 AWG | Plug-in or hardwired |
| 32 A | 40 A | #8 AWG | Plug-in or hardwired |
| 40 A | 50 A | #6 AWG | Usually hardwired |
| 48 A | 60 A | #6 AWG | Hardwired, may need disconnect |
| 80 A | 100 A | #4 AWG or larger | Hardwired, dedicated feeder |
Plug-in receptacles work fine up to the 32 A to 40 A range, provided the receptacle itself is rated for that continuous draw and sits on a dedicated circuit. Past that, hardwiring becomes the norm because few household receptacles are rated to handle 50 A or 60 A continuously. Anything at 60 A or above typically triggers a permit review and, in many jurisdictions, a required disconnect within sight of the charger.
How to calculate breaker size yourself (the 125% rule and the 80% check)
EV charging counts as a continuous load. Your car doesn’t just spike for a few minutes and taper off. It pulls a steady current for hours, and electrical code treats any load running three hours or more the same way: as continuous. That distinction is why EV circuits get sized differently than, say, a kitchen outlet.
The math is simple. Take the charger’s maximum continuous amperage and multiply by 1.25. Round up to the next standard breaker size. A load calculator built around this rule will do it instantly, but you should still know how to check the number yourself.
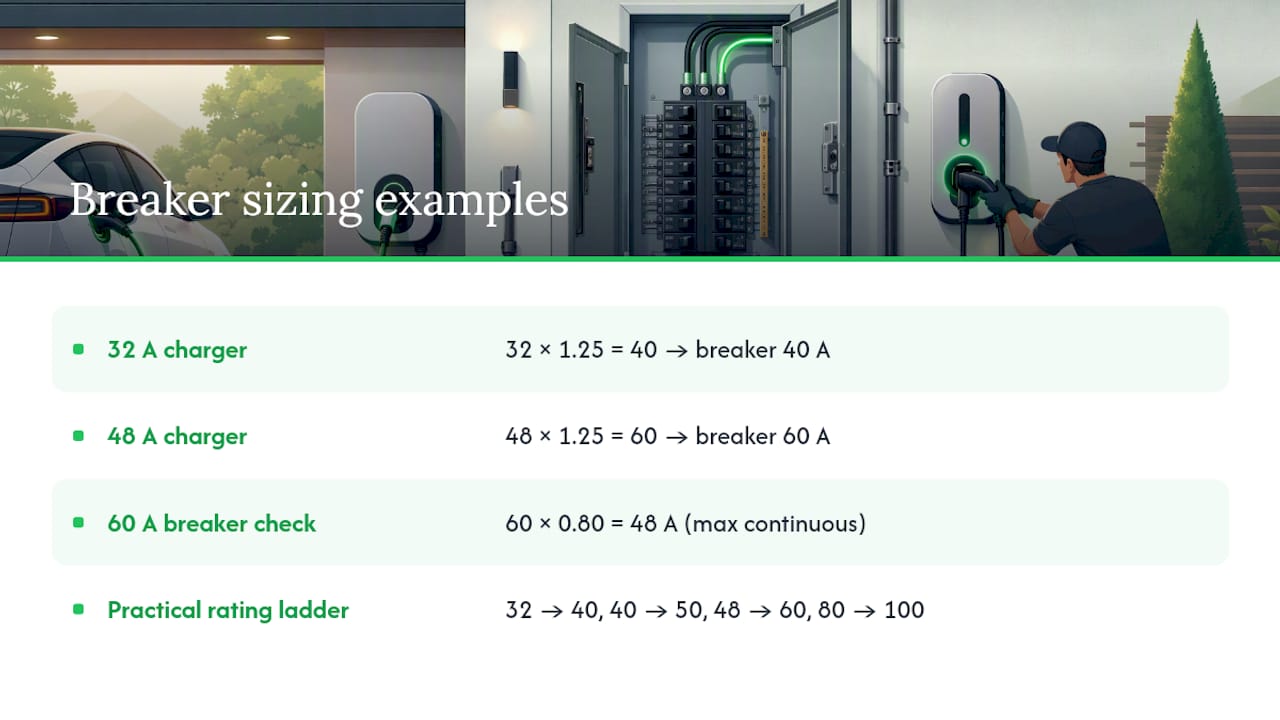
Worked example one: A 32 A charger. 32 × 1.25 = 40. The breaker needed is 40 A, and 40 is already a standard rating, so no rounding required.
Worked example two: A 48 A charger. 48 × 1.25 = 60. The breaker needed is 60 A, which lines up neatly with the practical ladder most installers reference: 32 A → 40 A, 40 A → 50 A, 48 A → 60 A, 80 A → 100 A.
You can also flip the formula to sanity-check a breaker you already have. Multiply the breaker rating by 0.80, and that tells you the maximum continuous amperage it can safely carry. A 60 A breaker times 0.80 equals 48 A, which is exactly where the ladder above lands. If an installer proposes a 60 A breaker for a 50 A charger, the math doesn’t hold up, and that’s worth questioning before anything gets wired in.
Conductor sizing and voltage drop: picking the right wire
Breaker size only tells half the story. The wire has to carry that same load without overheating, and conductor ampacity ratings are what determine which gauge fits which breaker.
For residential EV circuits, #12 AWG copper typically pairs with 20 A breakers, #10 AWG with 30 A, #8 AWG with 40 A, and #6 AWG with 50 A to 60 A. Installers commonly default to #6 AWG copper for 60 A circuits, which lines up with the 48 A charger example above. These pairings assume the 75°C ampacity column, which is standard for most residential breakers and EVSE terminations rated at that temperature. Using the wrong column, or mismatching a 60°C terminal with a 75°C wire rating, is one of the more common errors that trips up a DIY job.
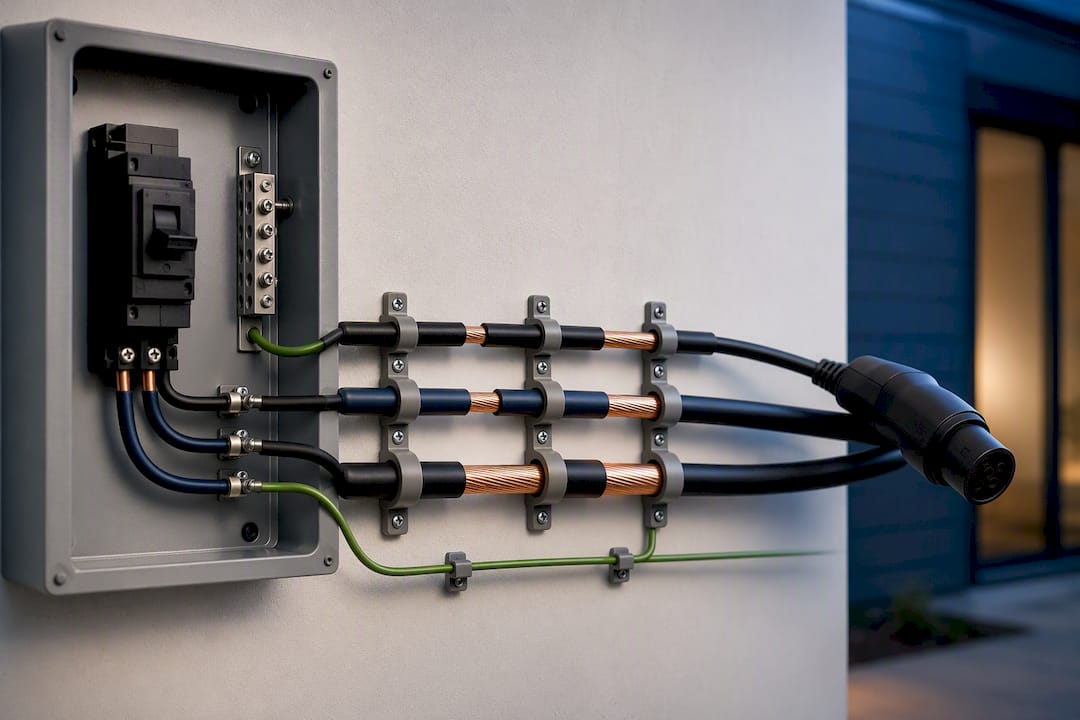
Voltage drop can affect charging speed and conductor heating on longer runs, especially beyond moderate distances, so increasing wire gauge for longer runs is a common practice even when breaker size remains consistent.
Don’t forget the equipment grounding conductor. It’s sized off the breaker rating, not the circuit conductor, and most residential EV circuits at 60 A call for a #10 AWG copper ground at minimum. Skipping this is a common inspection failure.
Protections, receptacles, and inspection points
GFCI protection is one of the most misunderstood parts of an EV install. If the charger plugs into a receptacle, that receptacle generally needs GFCI protection, either at the breaker or the outlet itself. Hardwired chargers usually rely on the EVSE’s internal ground-fault protection instead, which is why many higher-amperage installs skip the receptacle entirely and wire directly into a junction box.
Plug-in setups also have a practical ceiling. Most household receptacles aren’t rated to handle more than 40 A continuously, so charging hardware at 48 A or above is almost always hardwired rather than plugged in.
When an inspector walks through a completed job, they’re typically checking for:
- A dedicated circuit with no shared loads.
- Correct labelling at the panel identifying the EV circuit.
- Proper torque on lugs and terminals (a surprisingly common failure point).
- Box fill compliant with the number and gauge of conductors present.
- A disconnect within sight of the charger where code requires one, usually at 60 A and above.
Panel capacity, load checks, and smart load management alternatives
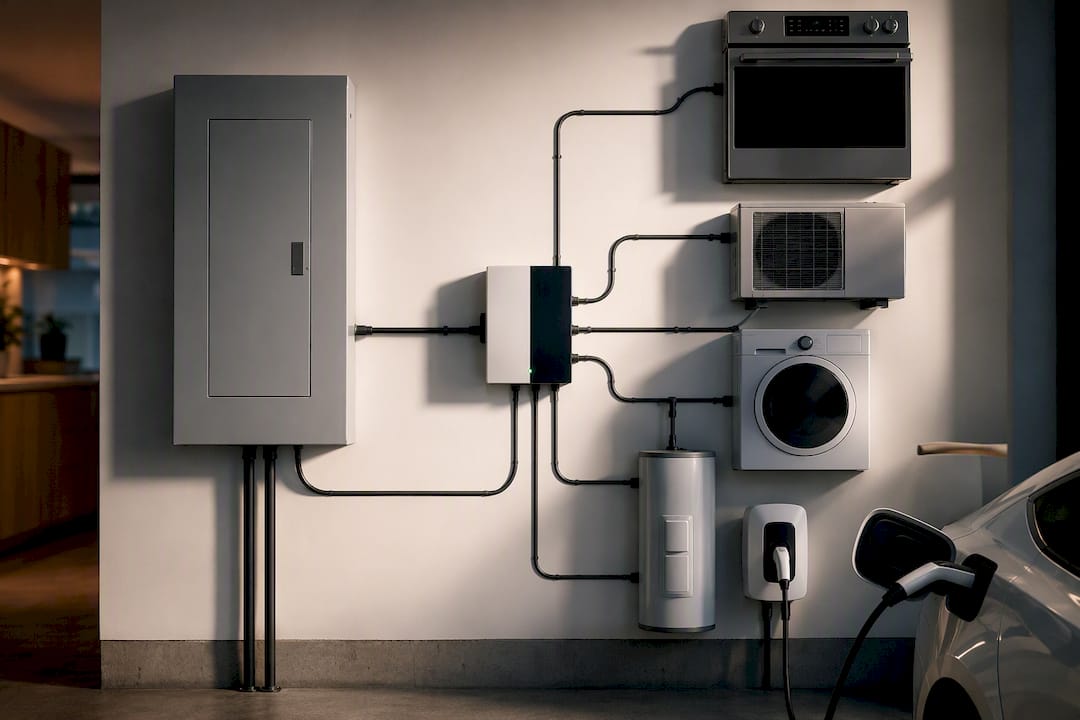
A 48 A or 60 A EV circuit isn’t a small ask of your panel. It can eat a meaningful chunk of your available headroom, especially in older homes running 100 A service. If your panel is already near capacity from a furnace, an electric range, and central air, adding a 60 A EV circuit can push you past what a formal load calculation allows, and that’s when a panel upgrade to 200 A service becomes the standard fix.
The simple check homeowners can do themselves: add up the amperage of your major appliances (range, dryer, AC, water heater) and compare that against your panel’s total rated capacity. If you’re already sitting close to the limit before adding a charger, a formal load calculation from an electrician isn’t optional, it’s necessary to avoid an overloaded panel that trips constantly or, worse, overheats.
Smart load management is worth knowing about before you assume a panel upgrade is your only path. An EVEMS (electric vehicle energy management system) monitors real-time load across your home and throttles the EV charger down automatically when other big loads kick in, rather than requiring your panel to support the full sum of everything running at once. It often avoids the cost and disruption of a full panel upgrade, though the trade-off is that charging speed can dip during peak household demand. For a lot of homeowners on 100 A service, that trade-off is worth it: a panel upgrade typically costs more and takes longer to schedule than an EVEMS install, while smart load management can often be done in a single visit.
Practical examples: what a 32 A, 40 A, 48 A and 80 A setup actually looks like
Charger settings aren’t arbitrary. They’re usually chosen to match what your vehicle can actually accept onboard, so picking a higher number than your car supports just adds cost without adding charging speed.
- 32 A charger: Needs a 40 A breaker, runs on #8 AWG copper, and works fine on a plug-in receptacle. This fits most plug-in hybrids and shorter-range EVs comfortably, and rarely triggers a panel upgrade.
- 40 A charger: Needs a 50 A breaker, typically #6 AWG copper, and is usually hardwired even though plug-in options exist at this level. A common sweet spot for owners who want a bit more speed without hardwiring complexity.
- 48 A charger: Needs a 60 A breaker, #6 AWG copper, and is almost always hardwired with a disconnect nearby. This is the ceiling for most home charger models and most vehicle onboard chargers, since few EVs accept more than 48 A on a Level 2 setup anyway.
- 80 A charger: Needs a 100 A breaker and a dedicated feeder, often #4 AWG or larger copper. This tier is rare in residential settings, generally reserved for high-performance EVs with larger onboard chargers, and almost always requires 200 A service or a load management system to avoid overloading the panel.
Matching your charger setting to your vehicle’s actual onboard limit avoids paying for capacity you’ll never use, and it’s the single most common oversight homeowners make when specifying a charger.
When to call a licensed electrician, permit checklist, and rebate note
A qualified electrician verifies several things before touching your panel: your existing panel rating, whether there’s an open breaker space, the length of the run from panel to charger, expected voltage drop over that distance, and whether the charger model itself carries proper safety listing.
Permits typically involve submitting the circuit plan, an inspection after rough-in wiring, and a final inspection once the charger is mounted and energized. Inspectors most often flag missing labelling, incorrect torque on connections, and undersized grounding conductors, the same checkpoints covered earlier.
Many electrical contractors also handle rebate paperwork as part of the installation, since current incentive programs tied to electrification can shift from year to year. It’s worth confirming upfront whether your contractor includes that filing as part of the service or bills it separately, and it’s also worth checking general permit requirements if you’re coordinating an EV install alongside other home electrical work.
An installer’s take on breaker sizing
Every failed inspection I’ve seen traced back to the same root cause: someone treated the charger’s amp rating and the breaker’s amp rating as the same number. They’re not. A 48 A charger has never once needed a 48 A breaker, and yet that mix-up shows up constantly in DIY forums and even in some quotes from less careful contractors.
The margin built into the 125% rule isn’t bureaucratic padding. It exists because continuous loads generate heat over time in a way that intermittent loads don’t, and breakers are rated with that heat curve in mind.
Pro Tip: Before you choose a charger’s amperage setting, check your car’s onboard charger limit in the owner’s manual. Buying a 48 A charger for a vehicle that only accepts 32 A means paying for a bigger breaker and heavier wire with zero benefit to your charging speed.
— Hafiz
How EV Install Pro Toronto takes the guesswork out of breaker sizing
Getting the math right is one thing. Having it installed, permitted, and inspected correctly is another, and that’s where a single point of contact makes the difference. Evchargerinstallationtoronto’s ESA-licensed electricians handle the full scope: confirming your panel’s headroom, calculating the correct breaker and conductor sizing for your specific charger, pulling permits, scheduling inspections, and filing your rebate paperwork, all without splitting the job across multiple contractors or applications.
If your panel is already tight on capacity, Evchargerinstallationtoronto also installs EVEMS smart load management systems as an alternative to a full service upgrade, which can save both time and cost depending on your home’s existing setup. Most installations are completed within a few hours, and with same-week booking available across the Greater Toronto Area, there’s no long wait between deciding on a charger and having it safely energized. Start with a free installation estimate to see what breaker size, wiring, and permit scope your home will actually need.
Sources
- EV Charger Load Calculator
- EV Charger Load Calculator — NEC 625 · Free · No Sign-up
- EV Charger Install Code 2026: NEC 625 Requirements + Tax Credit | PermitDeck
Recommended
Get Your Free Installation Quote
Free assessment · ESA permit included · Same-week availability across the GTA